How Long Does It Take to Heat Up Garlic Bread in an Air Fryer?
Garlic bread is a beloved side dish that’s perfect for accompanying pastas, soups, or simply enjoying on its own. While traditional ovens are commonly used to prepare this crispy, garlicky delight, the air fryer has become a popular kitchen tool for making garlic bread faster and more efficiently. If you’re wondering, “How long does it take to heat up garlic bread in an air fryer?”. You’re in the right place! In this article, we’ll break down everything you need to know to perfectly heat up garlic bread in your air fryer. Including some tips and common mistakes to avoid.
Introduction to the Air Fryer and Garlic Bread
Garlic bread is usually made by slathering a slice of bread with butter, garlic, and sometimes herbs, before baking it in an oven. However,. With the rise of the air fryer, many are turning to this appliance to heat their garlic bread in a quicker, healthier way. The air fryer uses hot air circulation to crisp up food. Which makes it perfect for turning frozen or fresh garlic bread into a golden, crispy snack in just a few minutes.
But how long does it really take to heat up garlic bread in an air fryer? The answer depends on a few factors. Including whether your garlic bread is frozen or fresh, the thickness of the slices, and the type of air fryer you’re using.

How Long Does It Take to Heat Garlic Bread in an Air Fryer?
The time it takes to heat up garlic bread in an air fryer varies. Typically, it is much faster than using a conventional oven. Below are the general timeframes you can expect:
- Frozen Garlic Bread: If you’re using frozen garlic bread, it generally takes about 5 to 7 minutes at 350°F. This allow to achieve a crispy texture and golden-brown edges.
- Fresh Garlic Bread: If you’re heating up freshly made or homemade garlic bread, it usually takes about 4 to 5 minutes at the same temperature, since it doesn’t need to thaw.
You can adjust the time slightly depending on your air fryer model and how crispy you like your bread. Frozen garlic bread usually takes a bit longer because it has to thaw and cook simultaneously.
How Does the Air Fryer Affect Cooking Times?
The air fryer’s rapid cooking ability comes from its design: it circulates hot air around the food, mimicking the effects of deep frying but without the oil. This helps cook food much faster while also keeping it crispy. When it comes to garlic bread, air fryers are particularly efficient, as they allow for an even distribution of heat that toasts the bread evenly on all sides.
The following factors affect the cooking time for garlic bread in an air fryer:
- Bread Thickness: Thicker slices or loaves of bread will take longer to heat up than thinner slices. You may need to add an extra minute or two.
- Type of Garlic Bread: Pre-made frozen garlic bread often requires more time because it needs to be thawed. Fresh garlic bread typically cooks faster because it’s already soft and ready to be crisped.
- Air Fryer Preheating: Some air fryers need to be preheated before cooking. If your model requires this step, preheat it to 350°F for optimal results.
Step-by-Step Instructions: How to Heat Garlic Bread in an Air Fryer
Heating up garlic bread in an air fryer is not only quick and easy but also results in perfectly crispy, golden bread with minimal effort. Whether you’re reheating frozen garlic bread or making fresh slices, using an air fryer gives you a delicious result in just a few minutes. Here’s a step-by-step guide to follow:
For Frozen Garlic Bread:
- Preheat the air fryer to 350°F (175°C). This ensures the bread will cook evenly and achieve a golden, crispy texture.
- Place the frozen garlic bread slices in the air fryer basket. Arrange them in a single layer to allow proper air circulation. Avoid overcrowding the basket, as this can lead to uneven cooking.
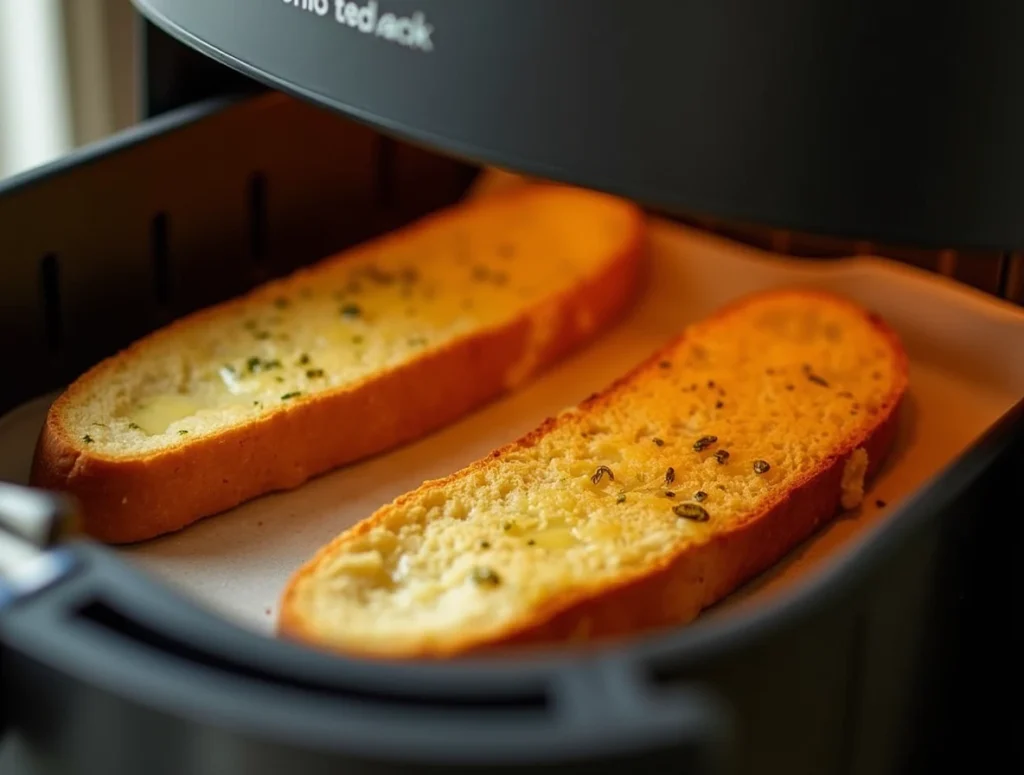
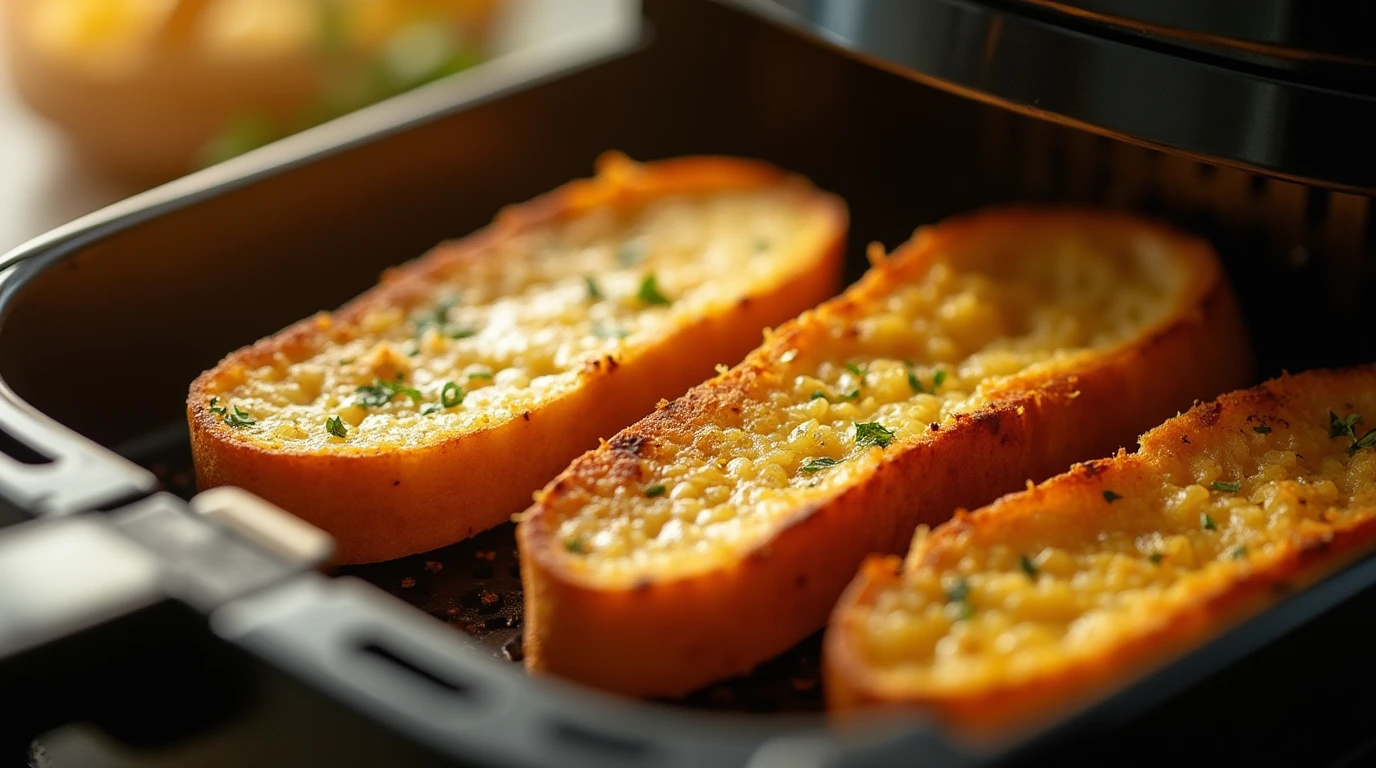
- Air fry for 5 to 7 minutes, checking halfway through the cooking process to ensure the bread is cooking evenly. The bread should turn golden brown, with crispy edges. The air fryer’s circulating heat will crisp the outside while keeping the inside soft and flavorful.
- Serve immediately, as the garlic bread will continue to crisp up slightly as it cools down.
For Fresh Garlic Bread:
- Preheat the air fryer to 350°F (175°C). The preheating step helps the bread cook more consistently.
- Prepare your fresh garlic bread by buttering the slices with garlic butter or spreading your favorite store-bought garlic spread.
- Place the bread slices in the air fryer basket, ensuring they aren’t overcrowded. This allows the hot air to circulate and cook the bread evenly.
- Cook for 4 to 5 minutes, or until the bread is golden brown and crispy on the edges. Check midway to ensure it doesn’t overcook or burn.
If you’re unsure about preheating, consult your air fryer’s manual for specific instructions based on the model you’re using.
Tips for Perfect Garlic Bread in an Air Fryer
To ensure you get the perfect garlic bread every time, follow these tips:
- Don’t overcrowd the basket: Make sure there is enough space between slices for the hot air to circulate and cook the bread evenly.
- Check halfway through: Open the basket and check on the bread halfway through the cooking time. This will ensure the bread cooks evenly and doesn’t burn.
- Use a light coating of butter: Applying too much butter can make the bread soggy. Instead, lightly butter the bread before cooking for a crispier texture.
- For extra flavor: Try adding a sprinkle of parmesan or fresh herbs like parsley before air frying. This will add extra flavor without compromising the crispiness.
How to Reheat Garlic Bread in an Air Fryer
If you have leftover garlic bread that needs reheating, the air fryer is an excellent option for restoring its crispy, flavorful texture without the need for a conventional oven. Reheating garlic bread in an air fryer is quick and efficient, ensuring that the bread remains crispy on the outside while staying soft and warm on the inside. Here’s how you can do it:
- Preheat the air fryer to 350°F (175°C). This step ensures the air fryer is at the right temperature for even reheating.
- Place the garlic bread slices in the air fryer basket in a single layer. Make sure there is some space between the slices so that the air can circulate around them properly, leading to even reheating.
- Reheat for 2 to 3 minutes, or until the garlic bread is warmed through and the crust is crispy. You’ll want to check the bread halfway through to make sure it isn’t overcooking. Depending on the thickness of your bread and the type of air fryer you’re using, the time may vary slightly.
It’s important not to overcook the garlic bread when reheating, as it can dry out or become too crispy. Checking on it frequently during the process will help ensure that it reaches the perfect level of warmth and crunch without losing its texture or flavor.
Common Mistakes to Avoid When Heating Garlic Bread in an Air Fryer
To avoid ruining your garlic bread, here are some common mistakes to watch out for:
- Not preheating the air fryer: Failing to preheat the air fryer can cause uneven cooking, resulting in parts of the bread being too soft while others remain undercooked. Preheating ensures that the bread cooks consistently from the moment it’s placed in the basket, giving you a perfectly crispy texture every time.
- Overcrowding the basket: When you overcrowd the air fryer basket with too many slices of garlic bread, it prevents the hot air from circulating properly around the bread. This can lead to uneven cooking, with some parts of the bread being overcooked while others stay soggy. To achieve the best results, make sure the slices have enough space to cook evenly.
- Using too high a temperature: While it might seem like a higher temperature would cook garlic bread faster, this can actually cause the edges to burn while leaving the center chewy or undercooked. Stick to 350°F for the ideal balance of crispiness and tenderness. This moderate temperature allows the bread to cook evenly, ensuring a golden brown exterior without overcooking the inside.
Frequently Asked Questions (FAQs)
How Long Does It Take to Cook Frozen Garlic Bread in an Air Fryer?
It typically takes 5 to 7 minutes at 350°F to cook frozen garlic bread in an air fryer.
Can You Cook Fresh Garlic Bread in the Air Fryer?
Yes, fresh garlic bread takes about 4 to 5 minutes at 350°F to cook in an air fryer, making it a great option for a quick snack or side dish.
What Temperature Should Garlic Bread Be Heated at in an Air Fryer?
The ideal temperature for heating garlic bread in an air fryer is 350°F, whether the bread is frozen or fresh.
How Do You Keep Garlic Bread from Getting Soggy in the Air Fryer?
To keep garlic bread from getting soggy, avoid using too much butter and make sure the bread is not overcrowded in the air fryer basket.
Conclusion
Heating garlic bread in an air fryer is not only quick but also incredibly convenient, offering a hassle-free way to enjoy this mouthwatering snack or side dish. Whether you’re reheating frozen garlic bread or baking fresh slices from scratch, the air fryer delivers consistently crisp, golden results in just a fraction of the time it takes in a traditional oven. One of the biggest advantages of using an air fryer is its ability to evenly distribute hot air around the bread, ensuring it cooks evenly and reaches that perfect crunchy texture without the need for excessive oil or butter.
For frozen garlic bread, the air fryer works wonders, cutting down cooking time to about 5 to 7 minutes, depending on thickness, without having to wait for the oven to preheat. When cooking fresh garlic bread, it usually only takes about 4 to 5 minutes at 350°F to get a crispy, golden exterior and a soft, flavorful interior.
By following the tips provided in this guide, you can fine-tune your air fryer cooking experience and achieve perfect garlic bread every time. If you haven’t tried it yet, consider making your next batch of garlic bread in the air fryer — the results will undoubtedly impress you with how fast, easy, and delicious it is!

